Create a Landing Page That Drives Results: Leadpages Tutorial
Create a Landing Page That Drives Results: Leadpages Tutorial
In this comprehensive tutorial, I’ll guide you through creating a stunning landing page using Leadpages that drives results. Whether you're a beginner or a marketing pro, you'll learn how to leverage Leadpages to capture leads and grow your business effectively.
Disclosure: this video is sponsored by Leadpages. But just so you know, I only partner with tools I’ve actually used and found helpful. And Leadpages? It’s one of those tools that just makes things easier.
Step 1: Intro
Creating a high-converting landing page is essential for any online business. With Leadpages, you have a powerful tool at your fingertips that simplifies the process. Whether you're looking to capture leads, promote a product, or build your brand, Leadpages provides the features you need to achieve your goals. Ready to unlock the potential of your online presence? Let’s dive in!
Step 2: Getting Started
First things first, you can start your journey with Leadpages by signing up for a free 14-day trial. This is a fantastic opportunity to explore the platform without any commitment. Simply visit the Leadpages website, enter your email, and click the “start my trial” button.
Once you’ve signed up, you’ll be prompted to choose your billing cycle. You can opt for a monthly plan or save money with an annual subscription. The choice is yours, but remember, the annual plan saves you a significant amount over the year.

After selecting your plan, you can connect with your Google account or create an account with your email. Following that, Leadpages will guide you through some onboarding questions to tailor the experience to your needs. You can even upload your brand colors for a more personalized touch.
Step 3: How to Choose a Template
With Leadpages, selecting a template is a breeze. Once you're in your account, you’ll find a vast library of professionally designed templates. These templates cater to various purposes, from lead magnets to sales pages.
Utilize the filters on the left side of the screen to narrow down your options by page type, industry, style, or even conversion performance. This way, you can find a design that resonates with your brand and meets your specific needs.
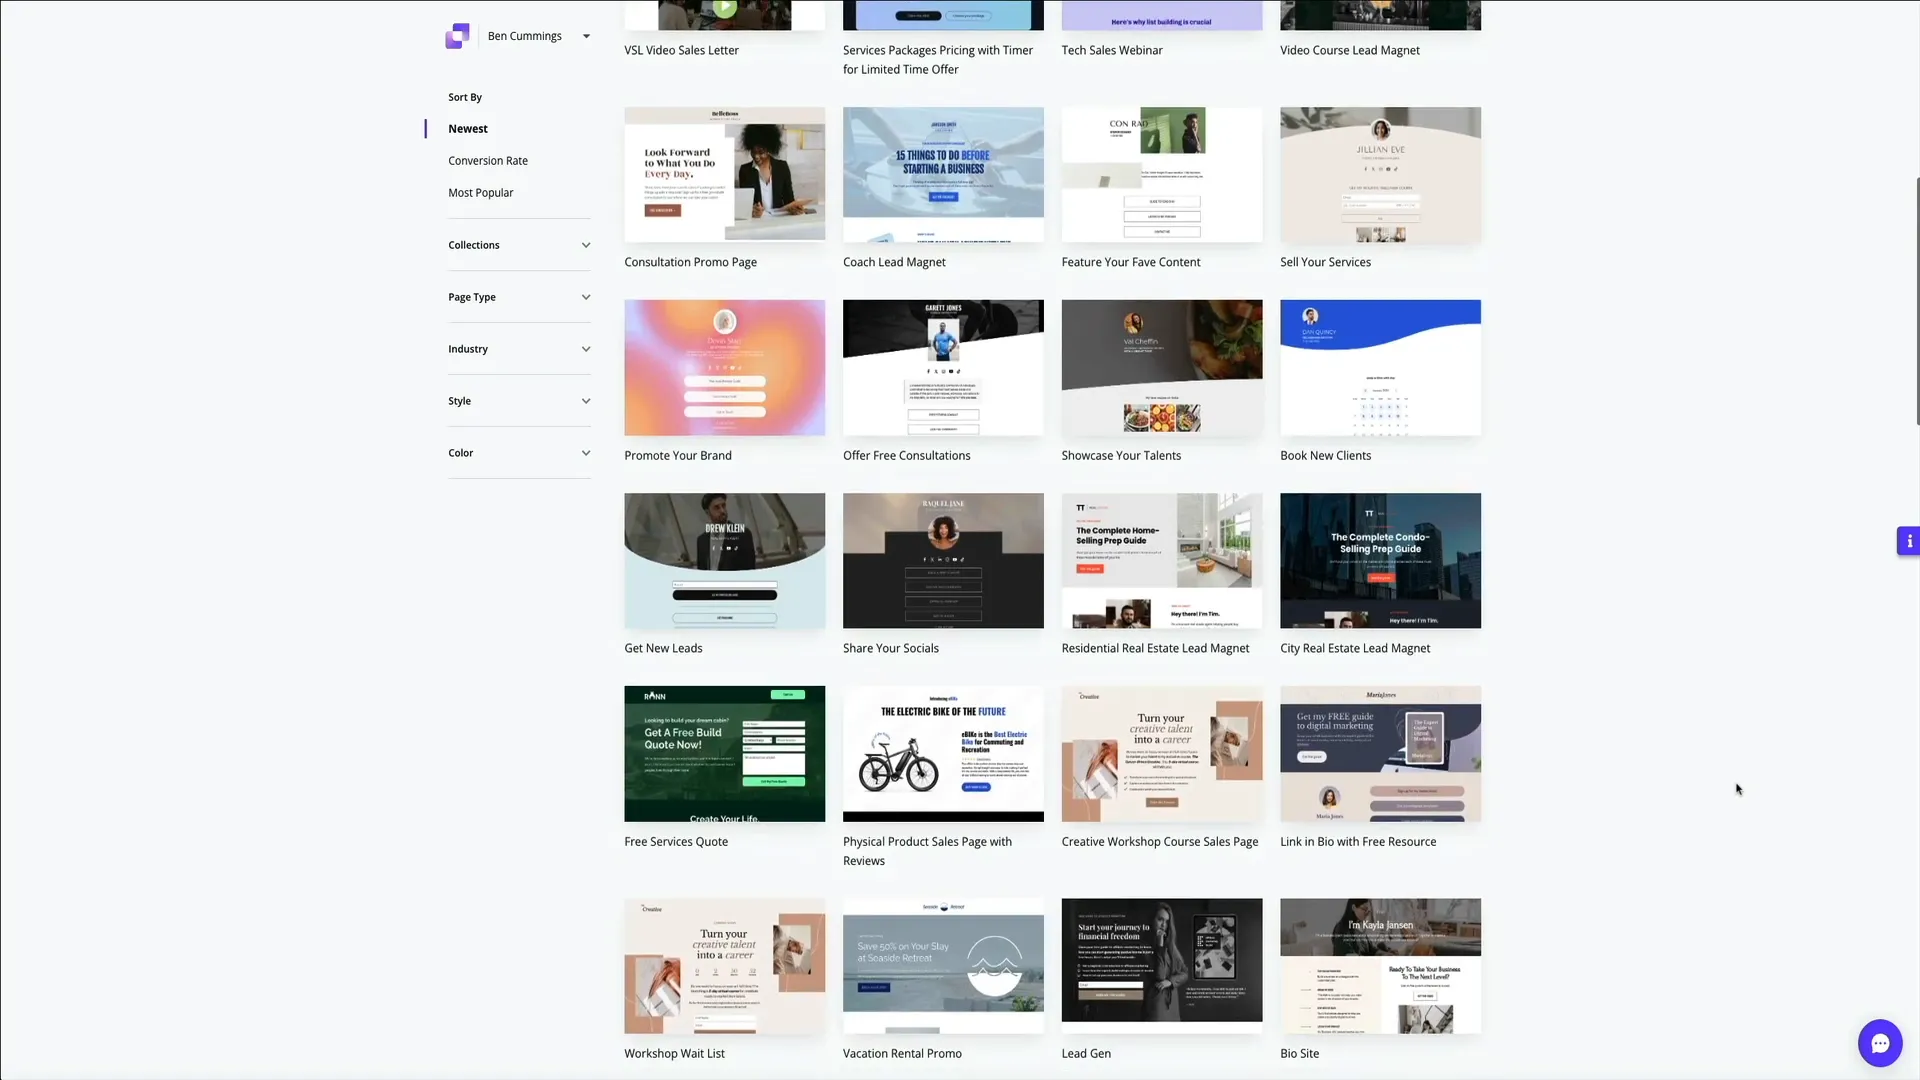
When you spot a template that catches your eye, hover over it and click the preview button. This allows you to see how the design looks and functions. Remember, these templates are not just visually appealing; they are optimized for high performance and conversion rates.
After previewing, if you’re satisfied, click the start building button. You'll be asked to name your page for organizational purposes. This name is for your backend only, so choose something that makes sense for your project.
Step 4: Landing Page Builder Overview
Now that you have your template, it's time to dive into the landing page builder. The interface is user-friendly, designed to give you full control over your page. Each template comes with pre-built sections that you can edit, rearrange, or replace entirely.
On the left sidebar, you’ll find essential tabs for layout, sections, widgets, styles, and settings. This is your toolbox for customization. In the bottom left corner, icons for notifications and help are available to keep you informed and supported throughout the building process.

The top left features navigation tools, including a back button and your page name, while the right side offers collaboration options. Remember, the Leadpages builder automatically saves your changes, so you don’t have to worry about losing your work.
As you build, you can toggle between desktop, tablet, and mobile views to ensure your landing page looks great on all devices. This is crucial for providing a seamless user experience. The editing toolbars for sections and widgets allow you to control visibility, settings, and more, making customization straightforward and efficient.

Every aspect of your landing page is customizable in real time, so you can see your changes as you make them. As you hover over sections, you’ll notice purple borders indicating editable areas. This visual guide helps you navigate the builder with ease.
Step 5: How to Customize a Landing Page
Now that you're familiar with the builder layout, it's time to start customizing your landing page. One of the first things you might want to edit is individual sections of the page. There are a couple of easy ways to get started.
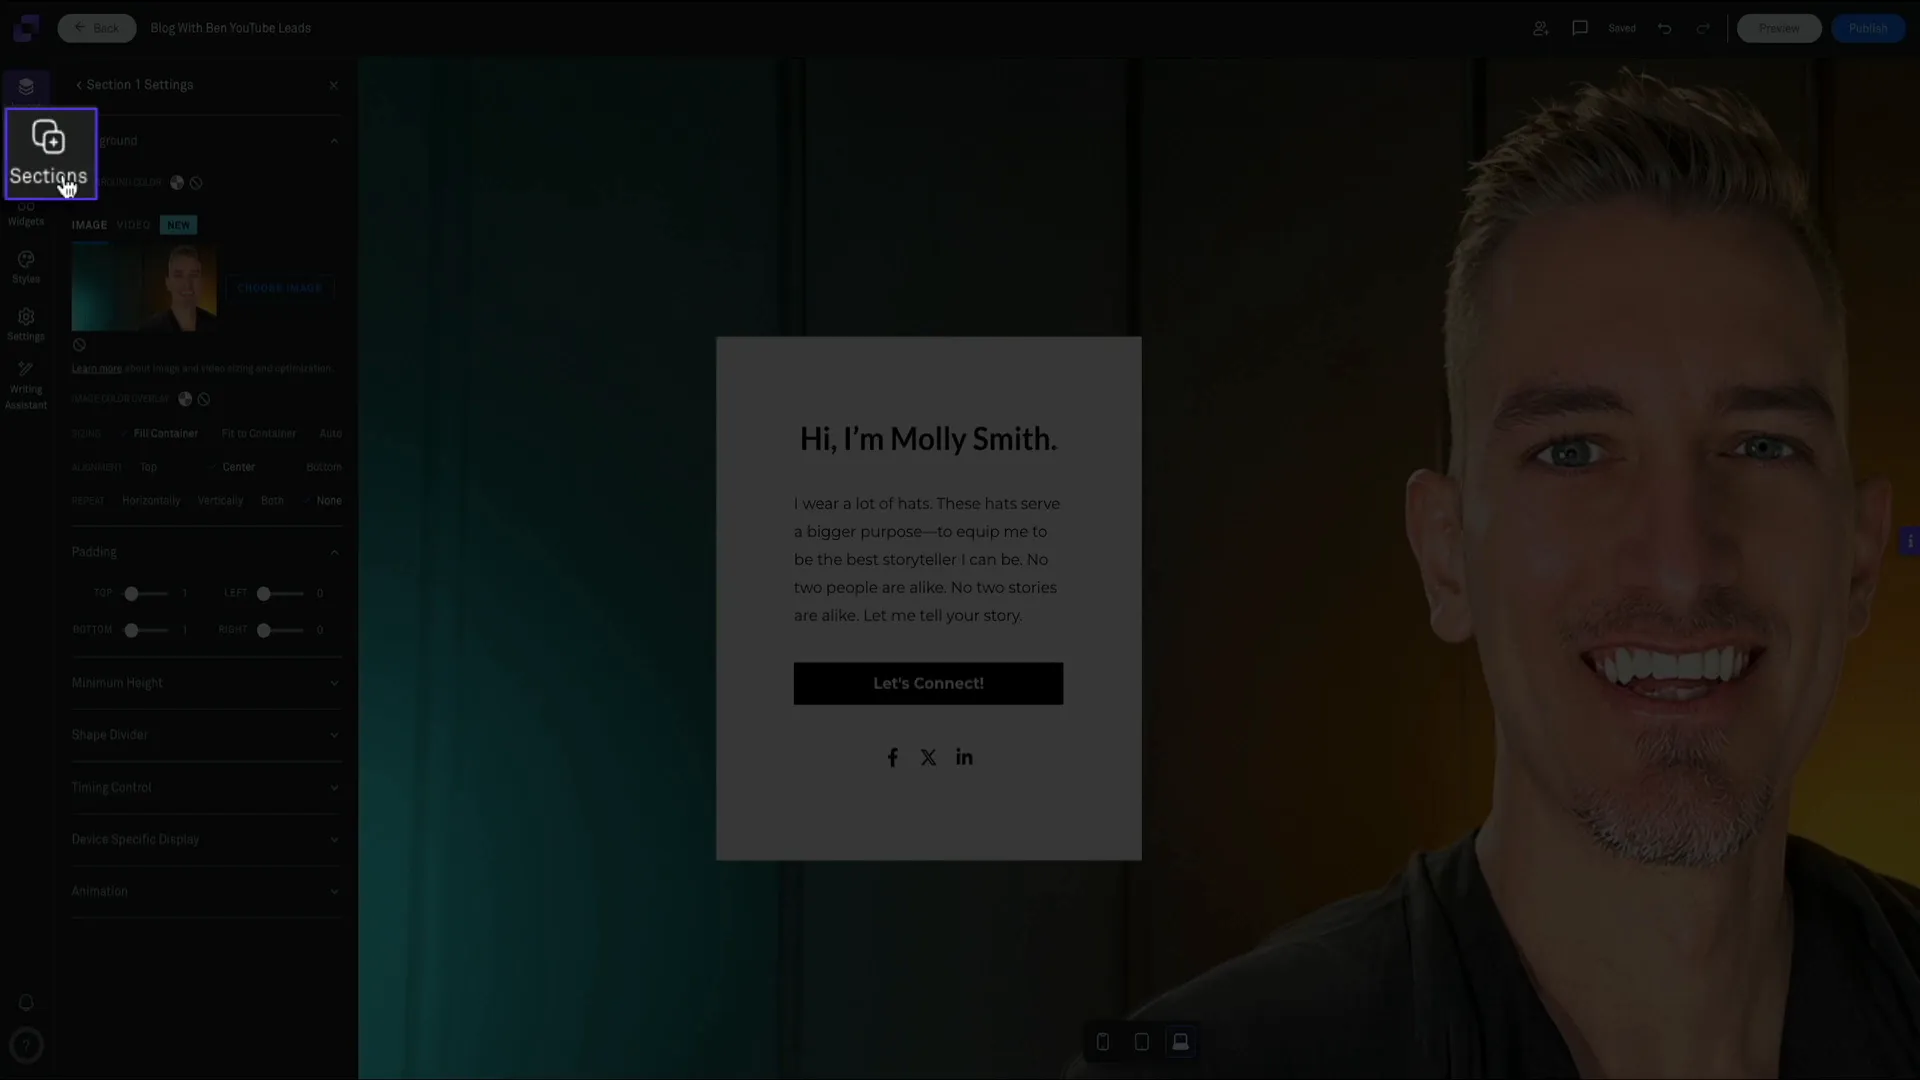
The first method is to use the left-hand toolbar and click on the layout tab. This opens the page layout panel where you'll see a list of all the sections currently on your page. From here, you can select the section you want to work on and click the pencil icon to edit it. This will bring up the style settings, giving you full control over the background, padding, alignment, and more.
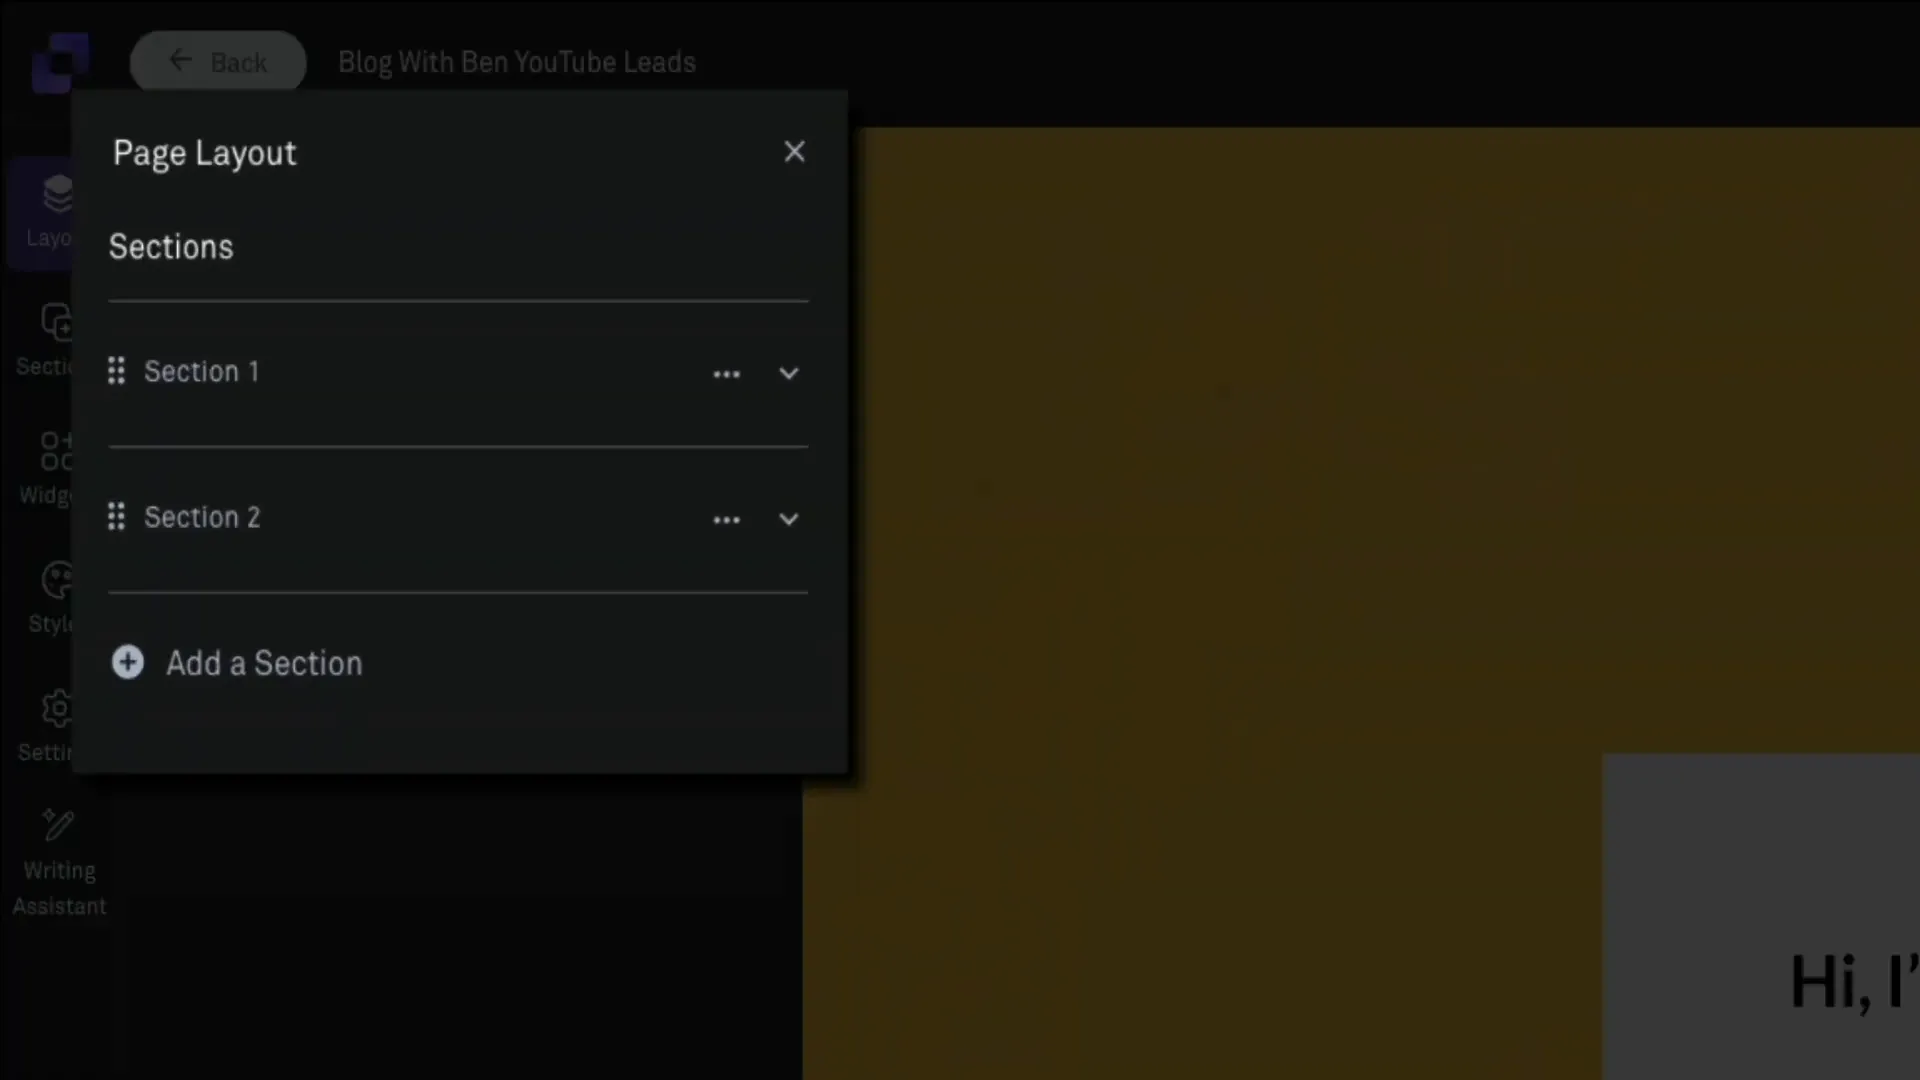
Another way to open the section settings is by hovering over the section on the page itself. In the upper corner of each section, you'll see the toolbar with a three-dot icon. Click on that to access a drop-down menu and select ‘edit section settings' to bring up the same style settings panel. Both methods lead to the same result, so it comes down to personal preference.
Once in the style settings, you can make detailed design changes. This includes switching out a background image, adding a video, adjusting padding, setting visibility by device, or even adding animations. This flexibility makes it easy to tailor each part of the page to match your brand and message.
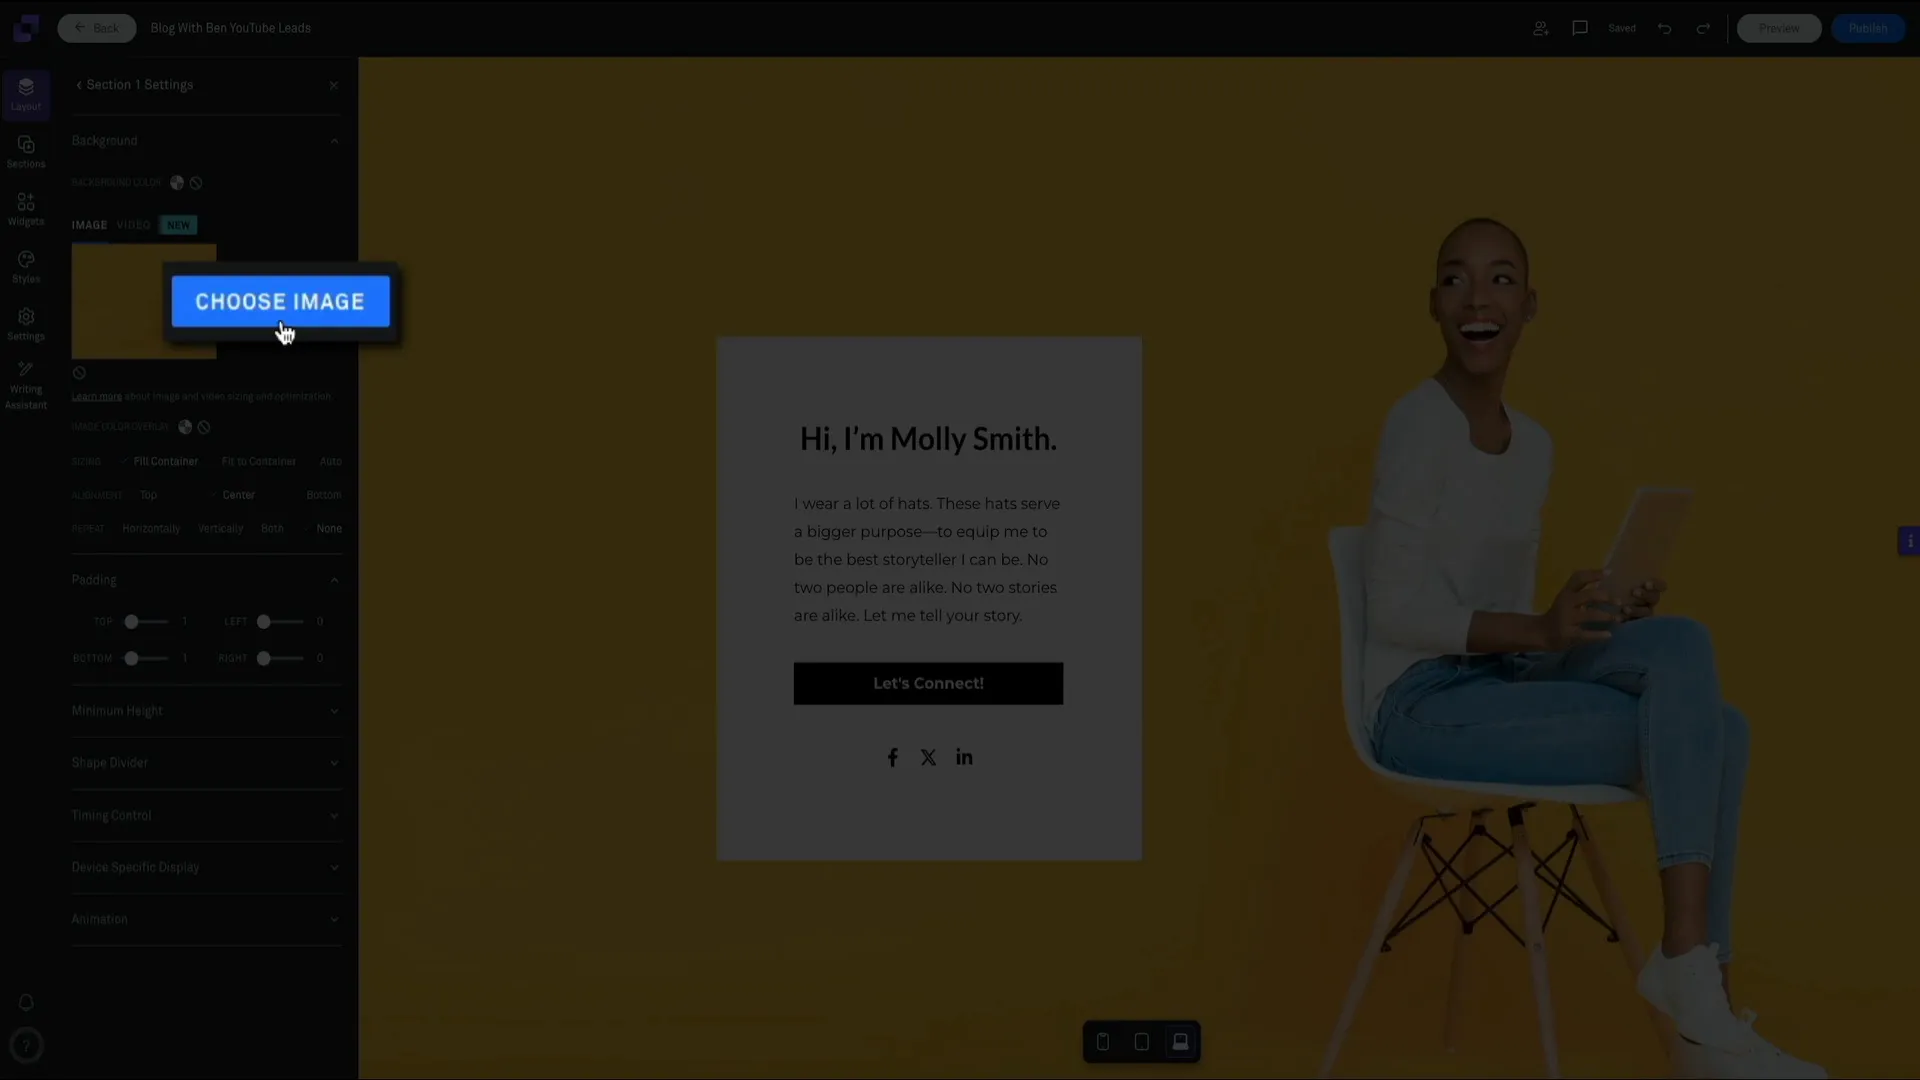
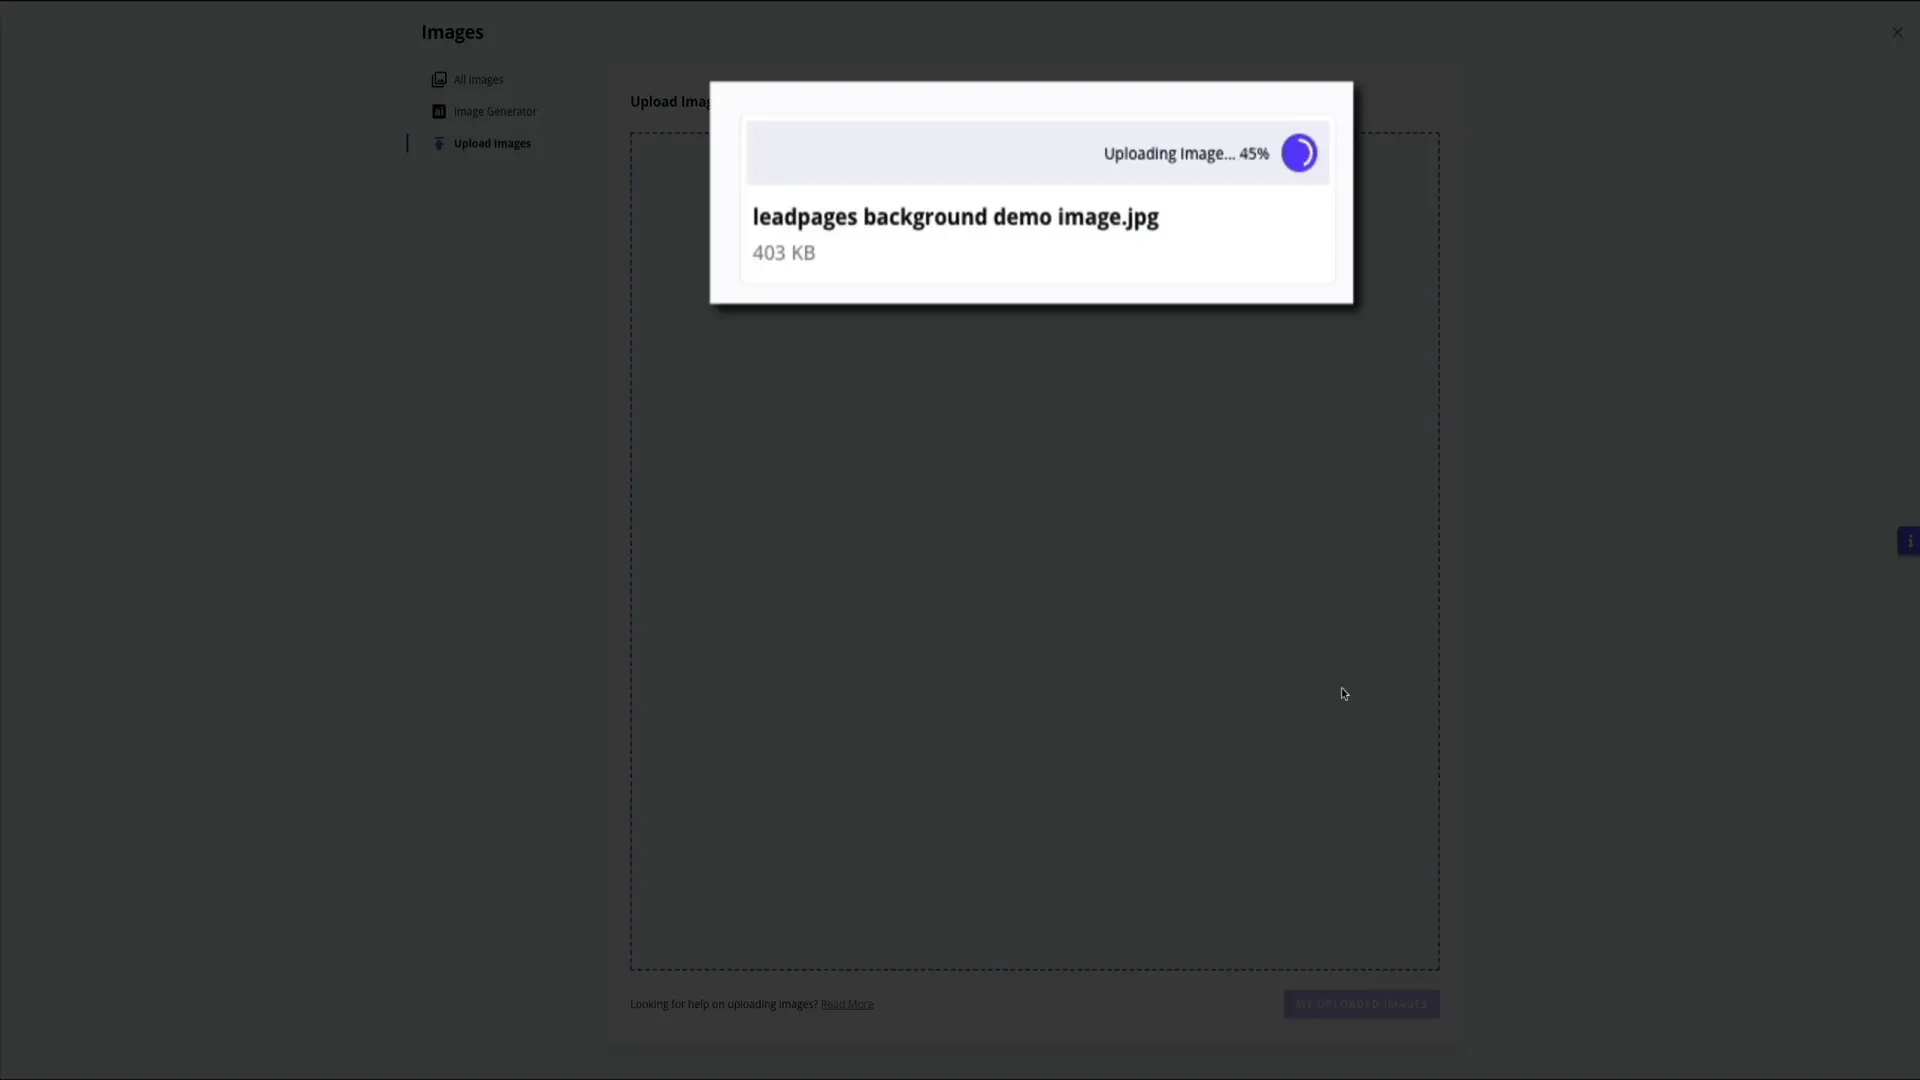
For instance, let’s say you want to replace a placeholder background image. You have a few options: you could upload an image or use a video. For this example, let's use an image. From the section settings, click the ‘choose image' button, which opens your image gallery. Here, you can access current images, upload new ones, and even use AI to generate images. Once you upload your image, you can also add alt text, which is important for SEO.
After configuring the display settings, you might want to expand your landing page with additional content. Adding a new section is super simple. Just head over to the left toolbar and click the sections tab. This opens a menu where you can browse a variety of pre-built sections. Each section is professionally designed and fully customizable, so you don’t need to worry about layout or formatting.
Once you find a section you want, drag it over to the landing page. You'll see purple highlights indicating where the section can drop, making it easy to place new content exactly where you want it. After placing the section, you can click on it to start editing.
If you ever change your mind, just click the undo button to remove the section and revert to your previous layout. Next, let’s take a look at how to add widgets to your landing page. Widgets are the individual elements that make up your page, such as text, images, buttons, videos, and forms.
To add a widget, simply click on the widgets tab in the left-hand toolbar. You’ll see a selection of commonly used widgets. If you want to explore more options, click ‘show more' at the bottom of the panel. This reveals additional tools like countdown timers, checkout widgets, and social sharing options. To add a widget, drag and drop it onto the page. Again, you'll see a purple highlight showing where the widget will be placed.
Once you’ve placed the widget, you can customize it by clicking the pencil icon in the toolbar above it. For example, if you're adding a video widget, you'll need to paste in an embed code from YouTube or your preferred video platform. After adding your code, click save, and just like that, the video is embedded directly on your landing page.
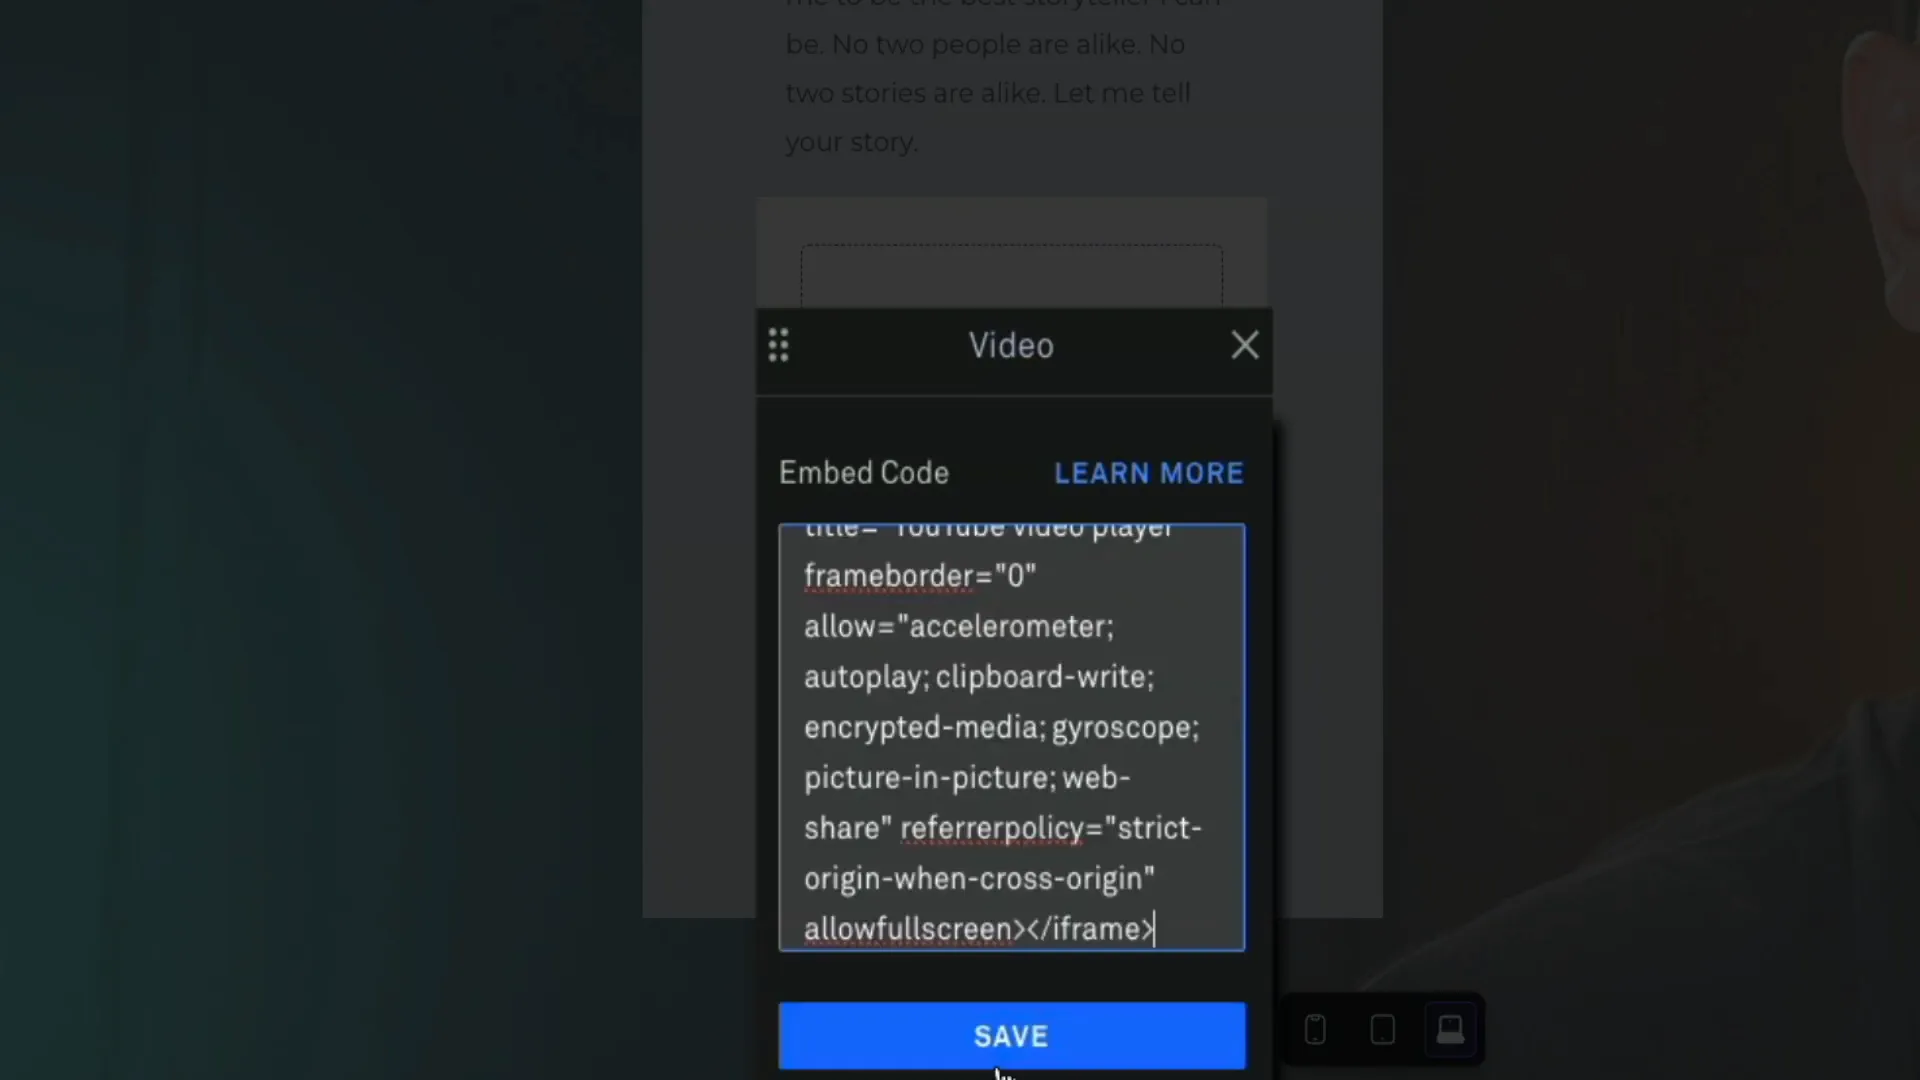
This is a great way to add personal branding, explain your offer, or even share a client testimonial—all without writing a single line of code.
Step 6: How to Publish a Landing Page
Once all of your design changes and configurations have been set, I recommend previewing your site before making it live. In the upper right corner, click the preview button. This opens your landing page in a simulated environment where you can interact with it just like a visitor would. It’s a great opportunity to test the behavior and user experience.
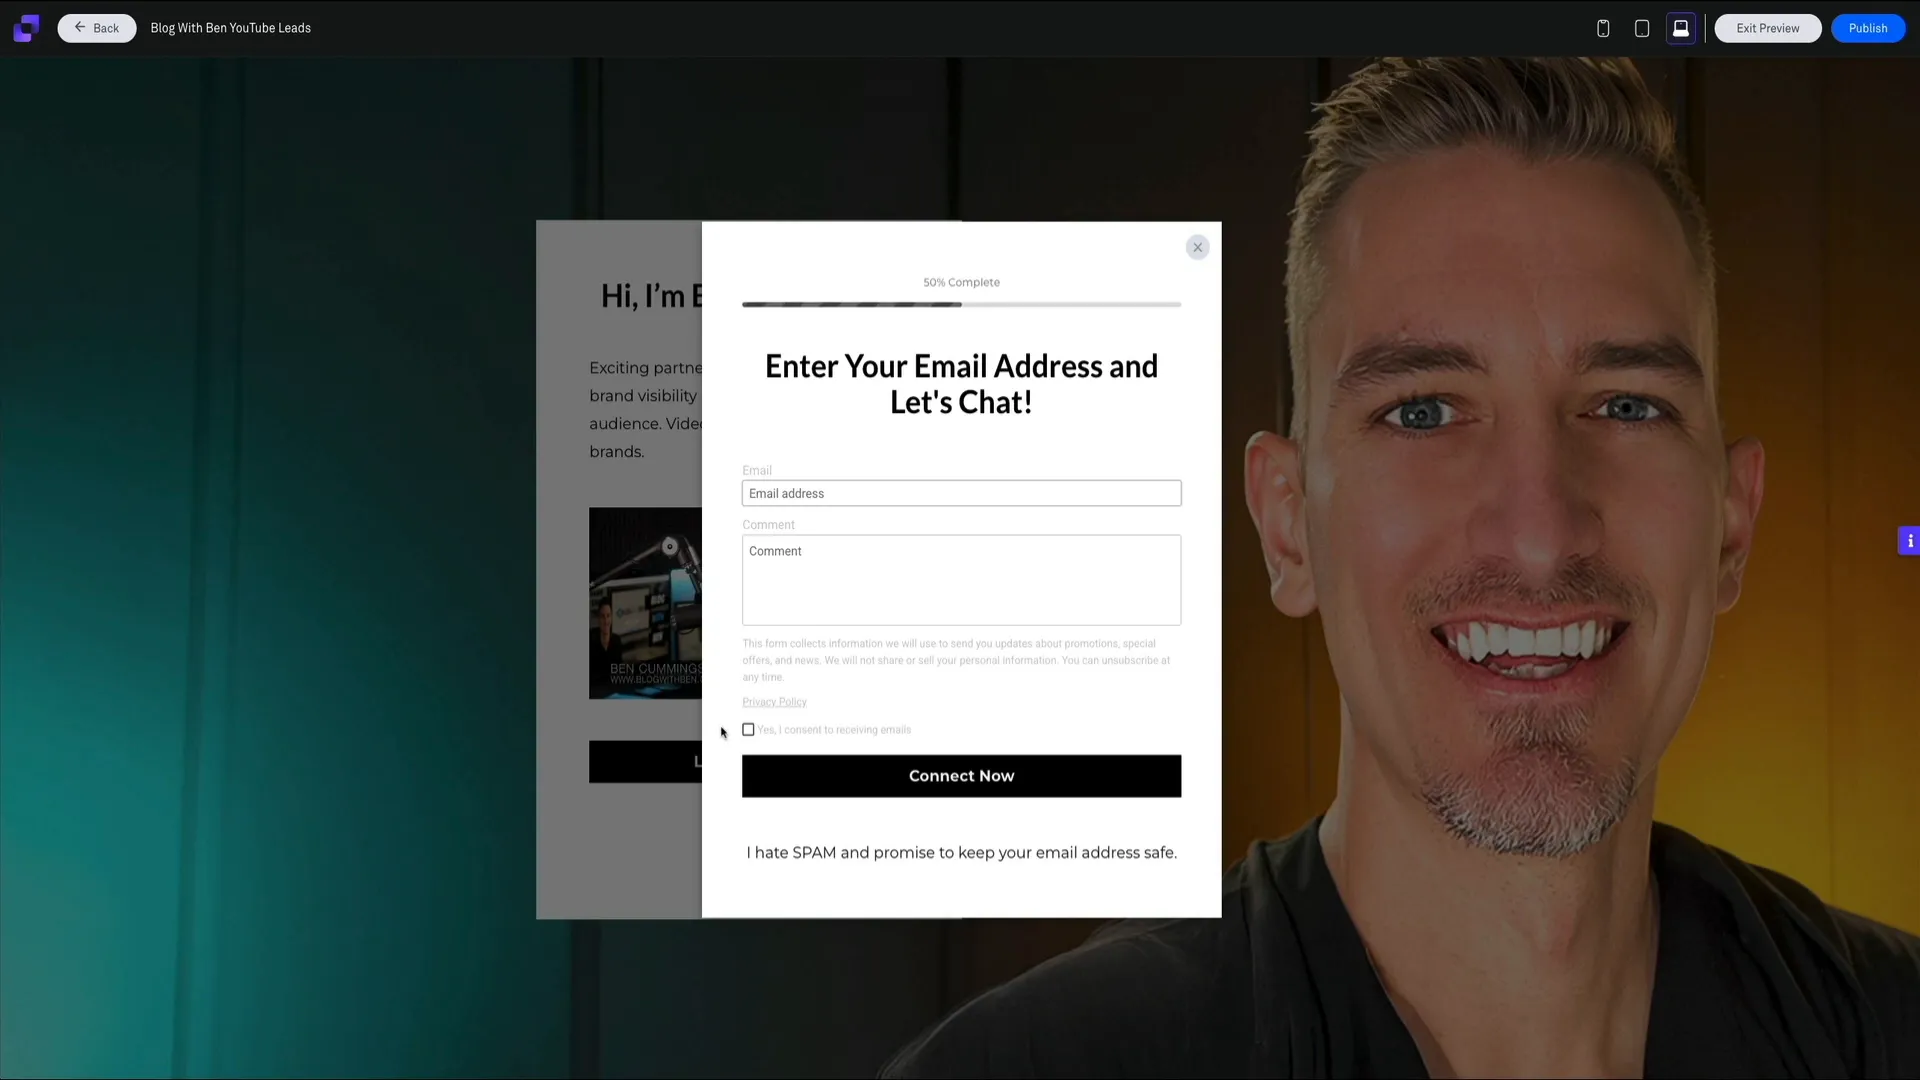
Ensure that the video loads and plays correctly and test your call to actions to confirm that the popups appear as expected. Don’t forget to check the responsiveness of your landing page by switching between desktop, tablet, and mobile views. This helps you confirm that everything looks great across all screen sizes.
Once you're satisfied, you're ready to publish. There are two ways to do this: you can publish to a Leadpages subdomain or connect your own custom domain. For this tutorial, I’ll publish to the Leadpages subdomain.
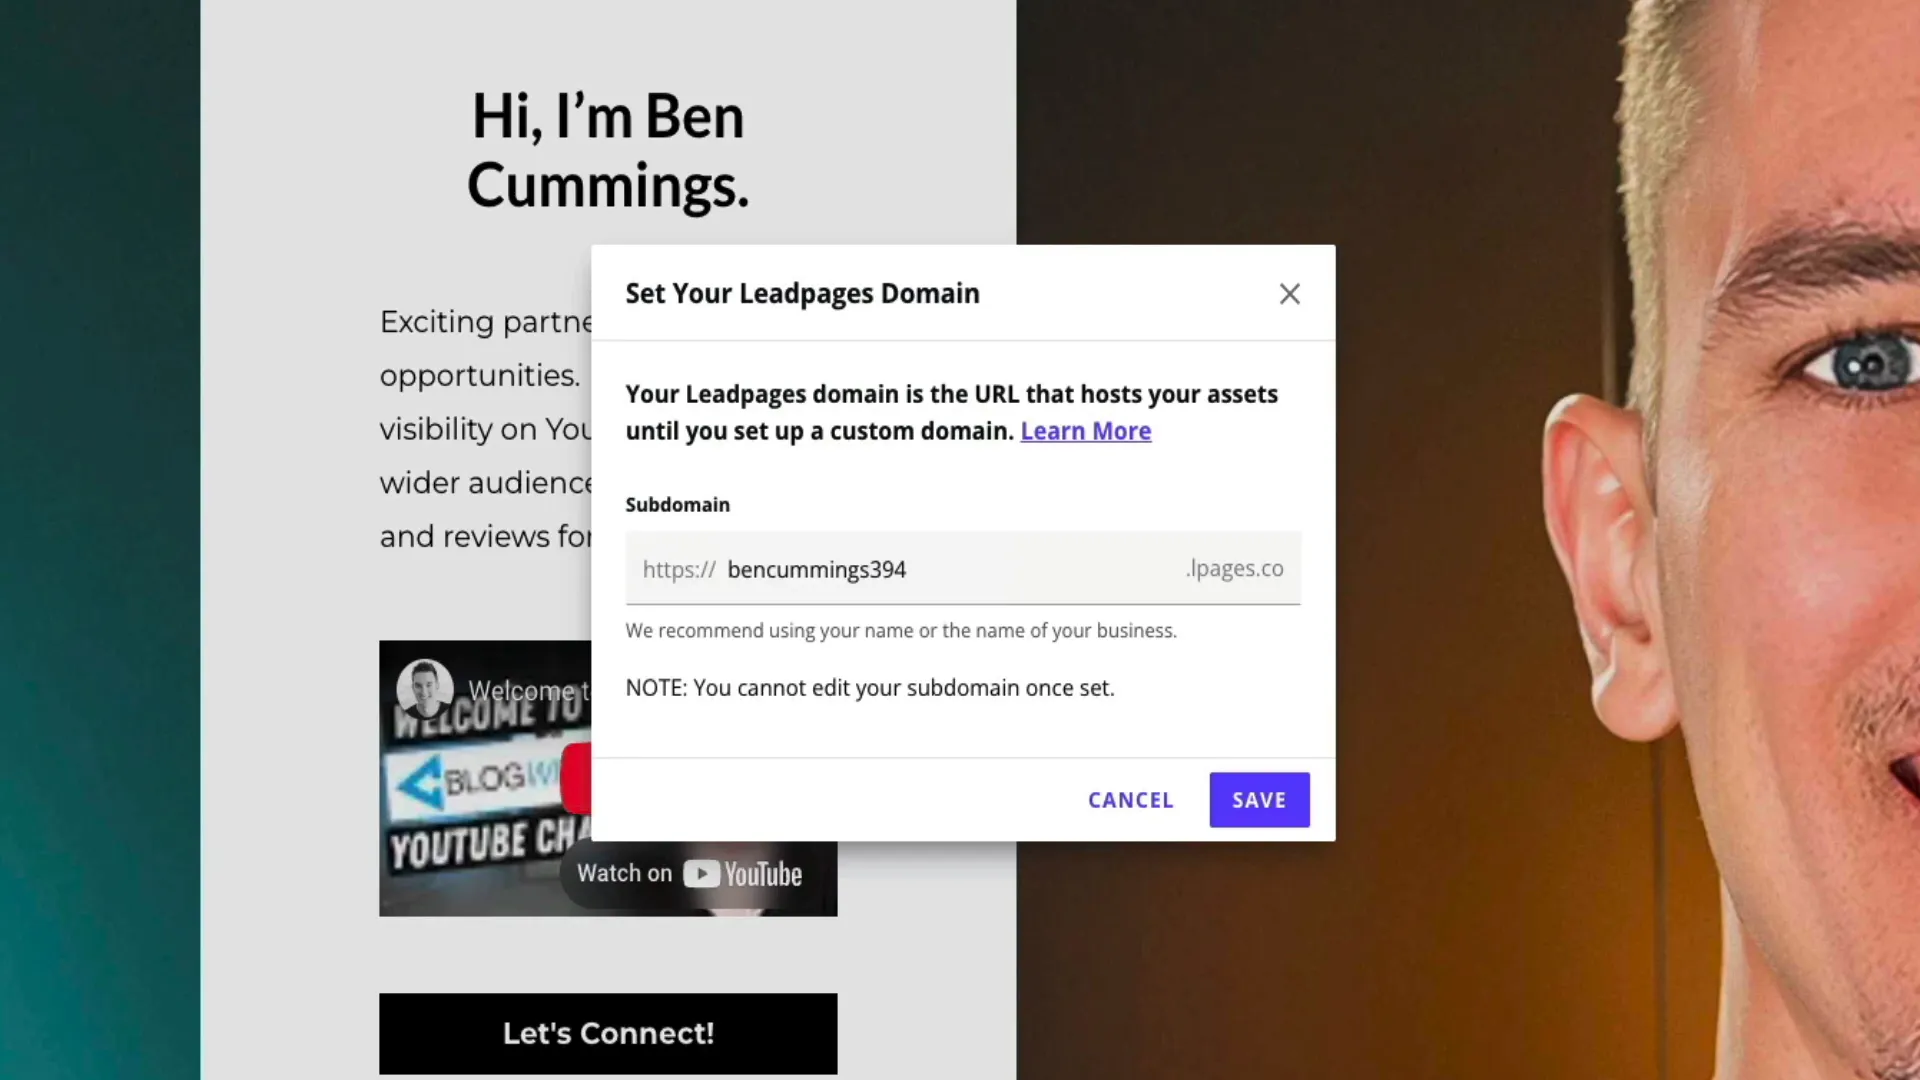
To publish, click the blue publish button in the top right corner of the editor. If you're on a free trial, you'll receive a prompt asking you to upgrade to a paid plan before you can publish. After upgrading, you'll choose a subdomain where Leadpages will host your landing page. It's advisable to use something brand relevant for this subdomain, like your business name.
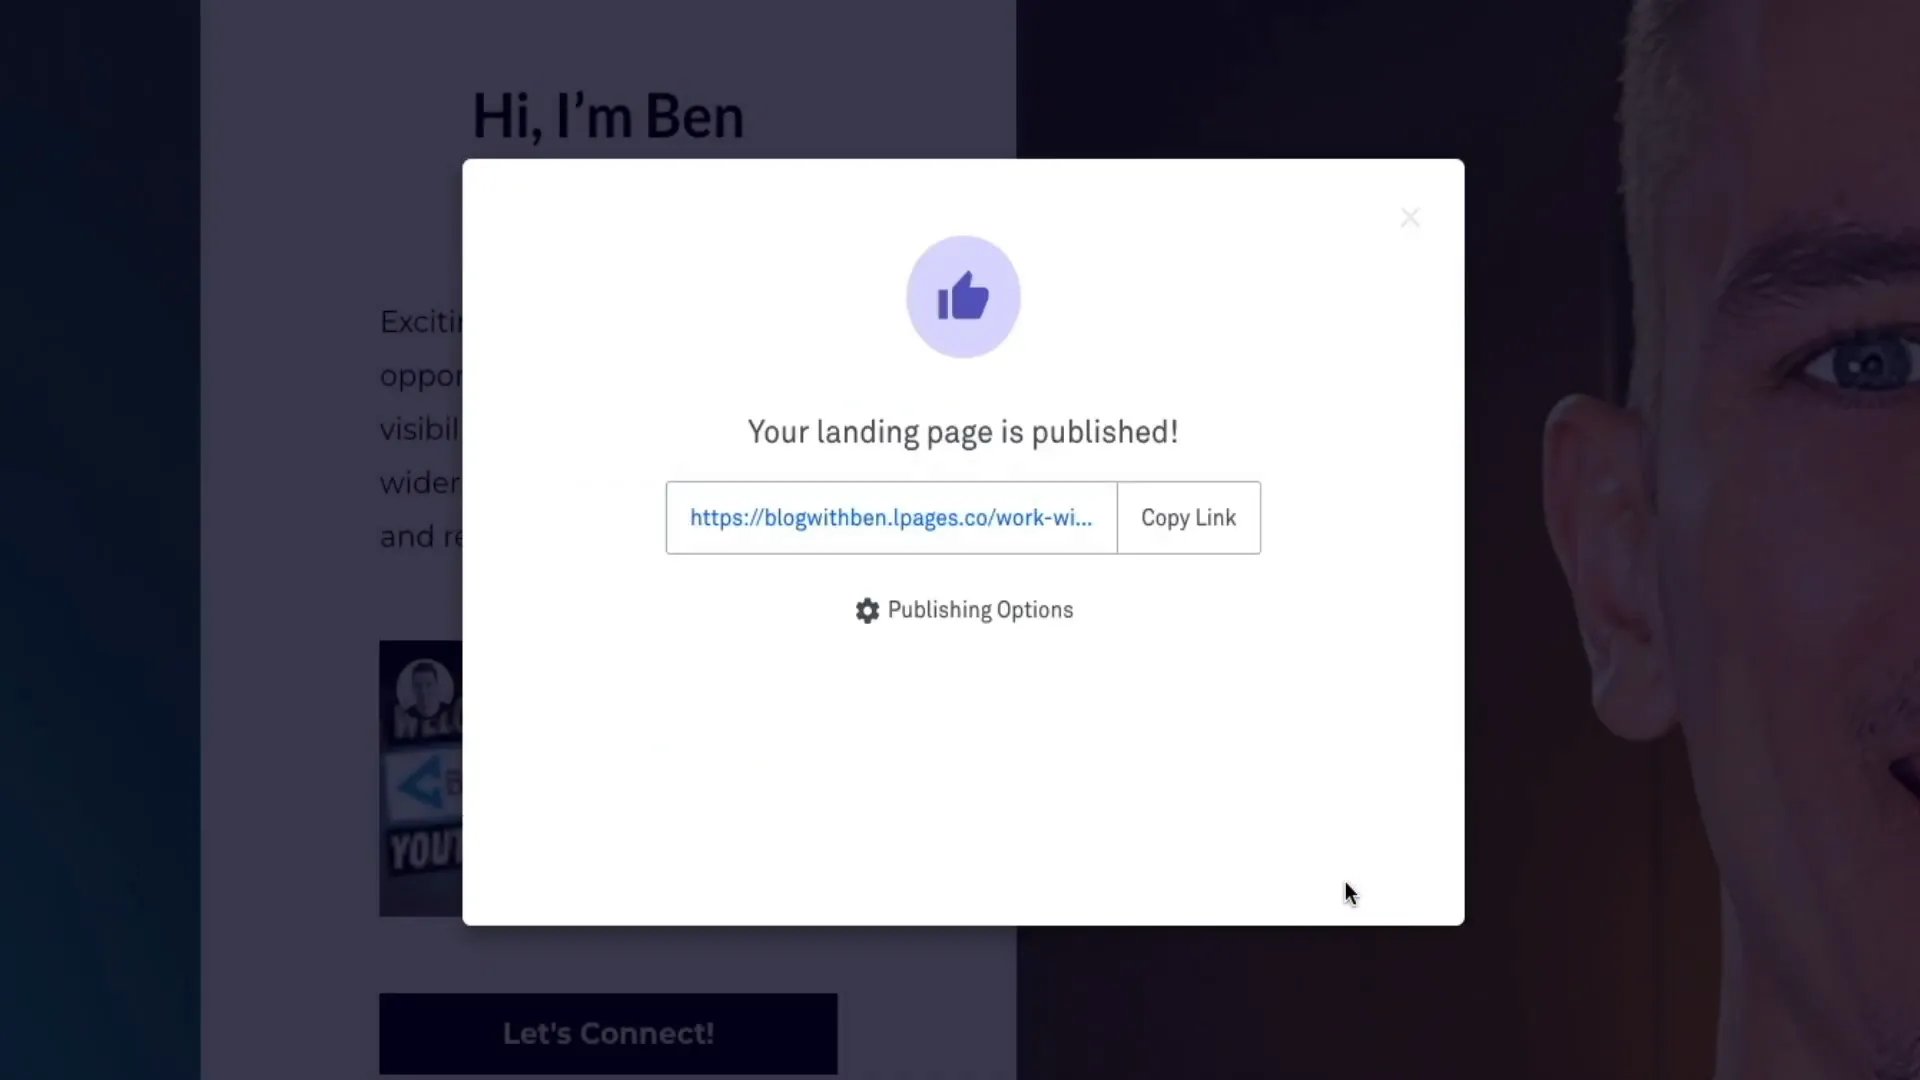
After setting your slug, which is the unique part of the URL that comes after the domain, click publish to make your page live. After publishing, you'll have access to additional options, such as direct links to your page, integrating with WordPress, or downloading the HTML code for self-hosting.
Once your page is live, test it out by submitting a test lead using your own email. Check your email inbox to confirm that the lead notification came through successfully. This ensures that your landing page is functional and ready to collect leads.
Step 7: My Final Thoughts
Leadpages makes it incredibly easy to build and publish a professional landing page, even if you're not a designer or developer. From customizing your layout and adding forms to integrating with your favorite email marketing platform, the entire process is smooth and beginner-friendly.
If you’re ready to create your high-converting landing pages, click the link below to start your free trial of Leadpages. You’ll get full access to everything shown today, along with a free domain for a year and a library of conversion-optimized templates to help you get started quickly.
Thanks for following along, and happy landing page creation!
In this comprehensive tutorial, I’ll guide you through creating a stunning landing page using Leadpages that drives results. Whether you're a beginner or a marketing pro, you'll learn how to leverage Leadpages to capture leads and grow your business effectively.
Disclosure: this video is sponsored by Leadpages. But just so you know, I only partner with tools I’ve actually used and found helpful. And Leadpages? It’s one of those tools that just makes things easier.
Step 1: Intro
Creating a high-converting landing page is essential for any online business. With Leadpages, you have a powerful tool at your fingertips that simplifies the process. Whether you're looking to capture leads, promote a product, or build your brand, Leadpages provides the features you need to achieve your goals. Ready to unlock the potential of your online presence? Let’s dive in!
Step 2: Getting Started
First things first, you can start your journey with Leadpages by signing up for a free 14-day trial. This is a fantastic opportunity to explore the platform without any commitment. Simply visit the Leadpages website, enter your email, and click the “start my trial” button.
Once you’ve signed up, you’ll be prompted to choose your billing cycle. You can opt for a monthly plan or save money with an annual subscription. The choice is yours, but remember, the annual plan saves you a significant amount over the year.
After selecting your plan, you can connect with your Google account or create an account with your email. Following that, Leadpages will guide you through some onboarding questions to tailor the experience to your needs. You can even upload your brand colors for a more personalized touch.
Step 3: How to Choose a Template
With Leadpages, selecting a template is a breeze. Once you're in your account, you’ll find a vast library of professionally designed templates. These templates cater to various purposes, from lead magnets to sales pages.
Utilize the filters on the left side of the screen to narrow down your options by page type, industry, style, or even conversion performance. This way, you can find a design that resonates with your brand and meets your specific needs.
When you spot a template that catches your eye, hover over it and click the preview button. This allows you to see how the design looks and functions. Remember, these templates are not just visually appealing; they are optimized for high performance and conversion rates.
After previewing, if you’re satisfied, click the start building button. You'll be asked to name your page for organizational purposes. This name is for your backend only, so choose something that makes sense for your project.
Step 4: Landing Page Builder Overview
Now that you have your template, it's time to dive into the landing page builder. The interface is user-friendly, designed to give you full control over your page. Each template comes with pre-built sections that you can edit, rearrange, or replace entirely.
On the left sidebar, you’ll find essential tabs for layout, sections, widgets, styles, and settings. This is your toolbox for customization. In the bottom left corner, icons for notifications and help are available to keep you informed and supported throughout the building process.
The top left features navigation tools, including a back button and your page name, while the right side offers collaboration options. Remember, the Leadpages builder automatically saves your changes, so you don’t have to worry about losing your work.
As you build, you can toggle between desktop, tablet, and mobile views to ensure your landing page looks great on all devices. This is crucial for providing a seamless user experience. The editing toolbars for sections and widgets allow you to control visibility, settings, and more, making customization straightforward and efficient.
Every aspect of your landing page is customizable in real time, so you can see your changes as you make them. As you hover over sections, you’ll notice purple borders indicating editable areas. This visual guide helps you navigate the builder with ease.
Step 5: How to Customize a Landing Page
Now that you're familiar with the builder layout, it's time to start customizing your landing page. One of the first things you might want to edit is individual sections of the page. There are a couple of easy ways to get started.
The first method is to use the left-hand toolbar and click on the layout tab. This opens the page layout panel where you'll see a list of all the sections currently on your page. From here, you can select the section you want to work on and click the pencil icon to edit it. This will bring up the style settings, giving you full control over the background, padding, alignment, and more.
Another way to open the section settings is by hovering over the section on the page itself. In the upper corner of each section, you'll see the toolbar with a three-dot icon. Click on that to access a drop-down menu and select ‘edit section settings' to bring up the same style settings panel. Both methods lead to the same result, so it comes down to personal preference.
Once in the style settings, you can make detailed design changes. This includes switching out a background image, adding a video, adjusting padding, setting visibility by device, or even adding animations. This flexibility makes it easy to tailor each part of the page to match your brand and message.
For instance, let’s say you want to replace a placeholder background image. You have a few options: you could upload an image or use a video. For this example, let's use an image. From the section settings, click the ‘choose image' button, which opens your image gallery. Here, you can access current images, upload new ones, and even use AI to generate images. Once you upload your image, you can also add alt text, which is important for SEO.
After configuring the display settings, you might want to expand your landing page with additional content. Adding a new section is super simple. Just head over to the left toolbar and click the sections tab. This opens a menu where you can browse a variety of pre-built sections. Each section is professionally designed and fully customizable, so you don’t need to worry about layout or formatting.
Once you find a section you want, drag it over to the landing page. You'll see purple highlights indicating where the section can drop, making it easy to place new content exactly where you want it. After placing the section, you can click on it to start editing.
If you ever change your mind, just click the undo button to remove the section and revert to your previous layout. Next, let’s take a look at how to add widgets to your landing page. Widgets are the individual elements that make up your page, such as text, images, buttons, videos, and forms.
To add a widget, simply click on the widgets tab in the left-hand toolbar. You’ll see a selection of commonly used widgets. If you want to explore more options, click ‘show more' at the bottom of the panel. This reveals additional tools like countdown timers, checkout widgets, and social sharing options. To add a widget, drag and drop it onto the page. Again, you'll see a purple highlight showing where the widget will be placed.
Once you’ve placed the widget, you can customize it by clicking the pencil icon in the toolbar above it. For example, if you're adding a video widget, you'll need to paste in an embed code from YouTube or your preferred video platform. After adding your code, click save, and just like that, the video is embedded directly on your landing page.
This is a great way to add personal branding, explain your offer, or even share a client testimonial—all without writing a single line of code.
Step 6: How to Publish a Landing Page
Once all of your design changes and configurations have been set, I recommend previewing your site before making it live. In the upper right corner, click the preview button. This opens your landing page in a simulated environment where you can interact with it just like a visitor would. It’s a great opportunity to test the behavior and user experience.
Ensure that the video loads and plays correctly and test your call to actions to confirm that the popups appear as expected. Don’t forget to check the responsiveness of your landing page by switching between desktop, tablet, and mobile views. This helps you confirm that everything looks great across all screen sizes.
Once you're satisfied, you're ready to publish. There are two ways to do this: you can publish to a Leadpages subdomain or connect your own custom domain. For this tutorial, I’ll publish to the Leadpages subdomain.
To publish, click the blue publish button in the top right corner of the editor. If you're on a free trial, you'll receive a prompt asking you to upgrade to a paid plan before you can publish. After upgrading, you'll choose a subdomain where Leadpages will host your landing page. It's advisable to use something brand relevant for this subdomain, like your business name.
After setting your slug, which is the unique part of the URL that comes after the domain, click publish to make your page live. After publishing, you'll have access to additional options, such as direct links to your page, integrating with WordPress, or downloading the HTML code for self-hosting.
Once your page is live, test it out by submitting a test lead using your own email. Check your email inbox to confirm that the lead notification came through successfully. This ensures that your landing page is functional and ready to collect leads.
Step 7: My Final Thoughts
Leadpages makes it incredibly easy to build and publish a professional landing page, even if you're not a designer or developer. From customizing your layout and adding forms to integrating with your favorite email marketing platform, the entire process is smooth and beginner-friendly.
If you’re ready to create your high-converting landing pages, click the link below to start your free trial of Leadpages. You’ll get full access to everything shown today, along with a free domain for a year and a library of conversion-optimized templates to help you get started quickly.
Thanks for following along, and happy landing page creation!

Written by Ben Cummings
Co-Founder of Sage Wave Media
Ben is the Co-Founder of Sage Wave Media, LLC which is the parent company of Blog With Ben. He enjoys teaching, blogging, startups, a hoppy IPA, and college basketball. Whenever he's not blogging, you can find him cruising around sunny San Diego with his amazing family.
0 Comments